“DRAWING CAN REVEAL MUCH ABOUT YOU TO YOURSELF, SOME
FACETS OF YOU THAT MIGHT BE OBSCURED BY YOUR VERBAL SELF.
YOUR DRAWINGS CAN SHOW YOU HOW TO SEE THINGS AND HOW YOU
FEEL ABOUT THINGS”
The New Drawing on the Right Side of the Brain: The 1999, 3rd Edition
By Betty Edwards
This chapter is about reawakening the connection between the visual portion of your brain and the analytical side of your brain. You have the tools to think visually, locked inside you, even if you haven't used it in a while. As the quote above suggest, drawing can reveal connections within you: you might not have noticed or considered before.
By sketching ideas, thoughts, products or the existing environment it pushes us to think different, to encode in a more unique way. This new way of thinking can lead to a new fresh perspective on a current problem. Visual thinking can also act as a natural memory aid.
A common perception of memory is that it is a function of recall. Modern science points out that the formation of a memory, is initially encoding, it is the key to recalling a memory. In Schools we are taught to learn by memorizing facts and concepts. We input facts through repetition or link them to things we already know.
If you ever heard of the term “Memory Palace” you are familiar with the concept of linking memories to physical space. The popular book “Moonwalking with Einstein” by Joshua Foer, a bestselling book on memory, and one I highly recommend, starts with the story of the fifth-century Greece banquet collapse were the bodies in the debris were unrecognizable.
|
Poet Simonides of Ceos the lone survivor sealed his senses to the chaos around him and reversed time in his mind. The piles of marble returned to pillars… the splinters of wood poking above the ruins once again became a table…. He saw Scopas laughing at the head table, a fellow poet sitting across from him…
Simonides opened his eyes. He took each of the hysterical relatives by the hand and carefully stepping over the debris, guided them, one by one, to the spots on the rubble where their loved ones have been sitting. At that moment, according to legend, the art of memory was born. Page 1 |
A common technique in memory aide is to place objects of remembrance in a mentally built home, placing them in specific rooms, which in turn acts as a trigger for specific memories. Sketching is the internalization of the physical world. And with this tool we can better understand and remember the places we line in. This then can form future ideas. There are a few techniques that if practiced can lead to confidently sketching your ideas, allowing the intimidation of sketching to slowly fall away.
To reassure you, I am not asking you to become Divinci. In fact most professional architects are mediocre sketchers. This is because sketching isn't the end goal. For architects communicating a concept in your design/sketch is the true desired results, not the beauty of the sketch itself. Google "Steven Holl sketches" if you doubt me. He is an amazing architect, but hardly an intimidating drawer.
Let's start to prime your brain to think differently. The first step to sketching is getting comfortable drawing different types of lines. There are a couple techniques to ease you into putting pen to paper. If you have a sketch book I recommend having it with you right now and practicing each technique as we go along. If not you will notice a black spot after each example. Feel free to use those spaces to try out the exercise on your own.
|
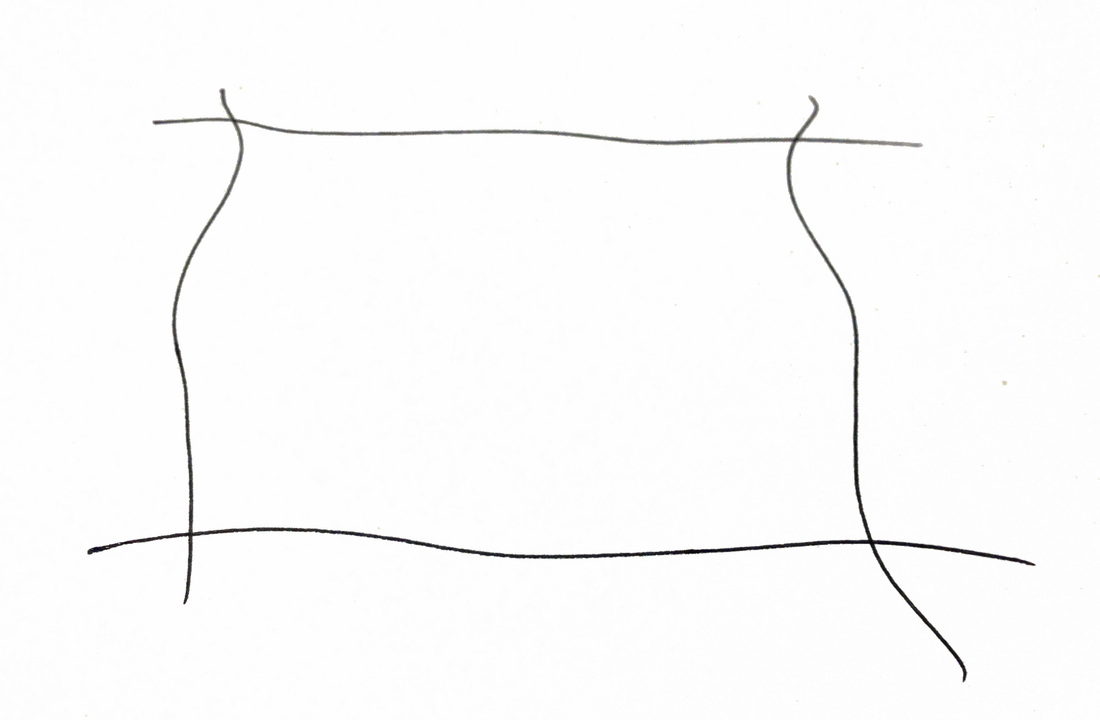
THE OVERDRAW The first technique is to rid yourself of the notion that in sketching you must be precise or perfect. Let yourself be free and unattached to what is known as perfection. What I want you to do is overdraw your corners. Instead of trying to stop at a perfect point, draw slightly pass the place you wish to stop. What this does is trick the mind of the viewer. It tells the viewer to not be concerned with the perfection of the drawing, but to look at the broader concept. This idea is so popular that the computer program Sketchup, which has 30 million users*, has the overdraw extensions as one of its styles. With this technique do not be afraid to draw a confident strong line. |
|
WIGGLY LINE
Another common practice that follows the same logic of the overdraw technique, is to give your lines a slight wiggle. Instead of drawing perfectly straight lines, allow the lines to be loose and carry along a back and forth wiggle. This slows down the drawing process, making the commitment to a line less consequential. Whole drawings can be completed with this technique. |
|
AIRPLANE
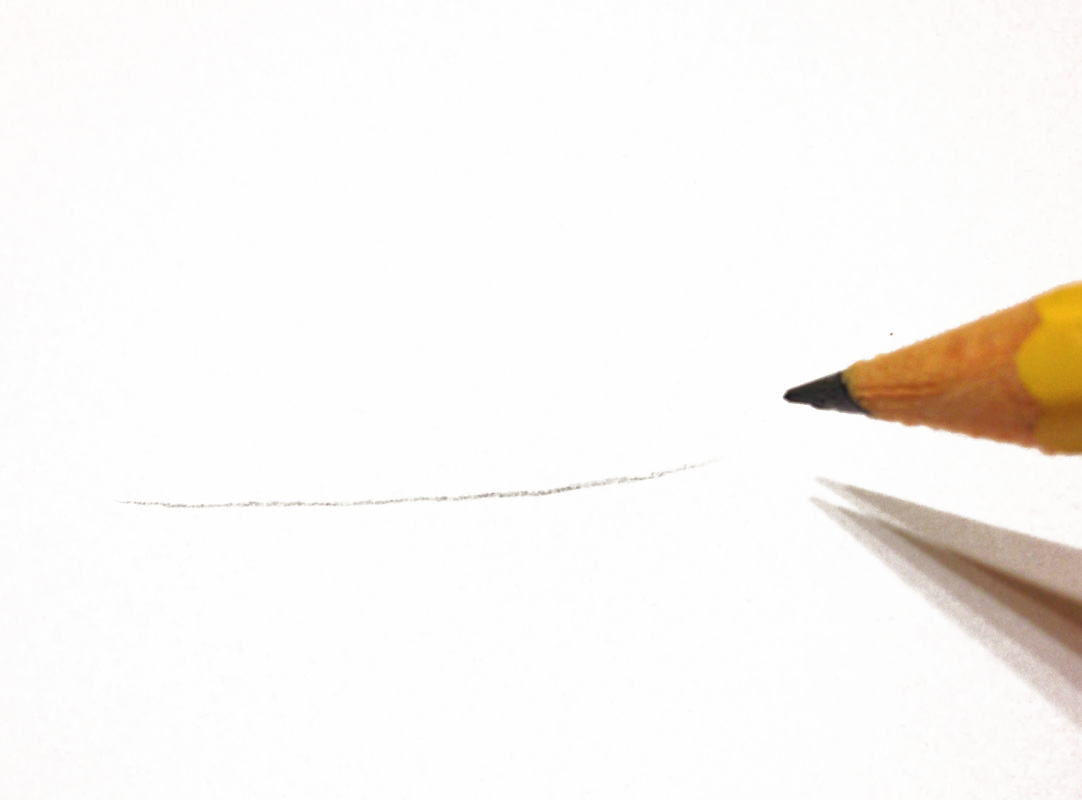
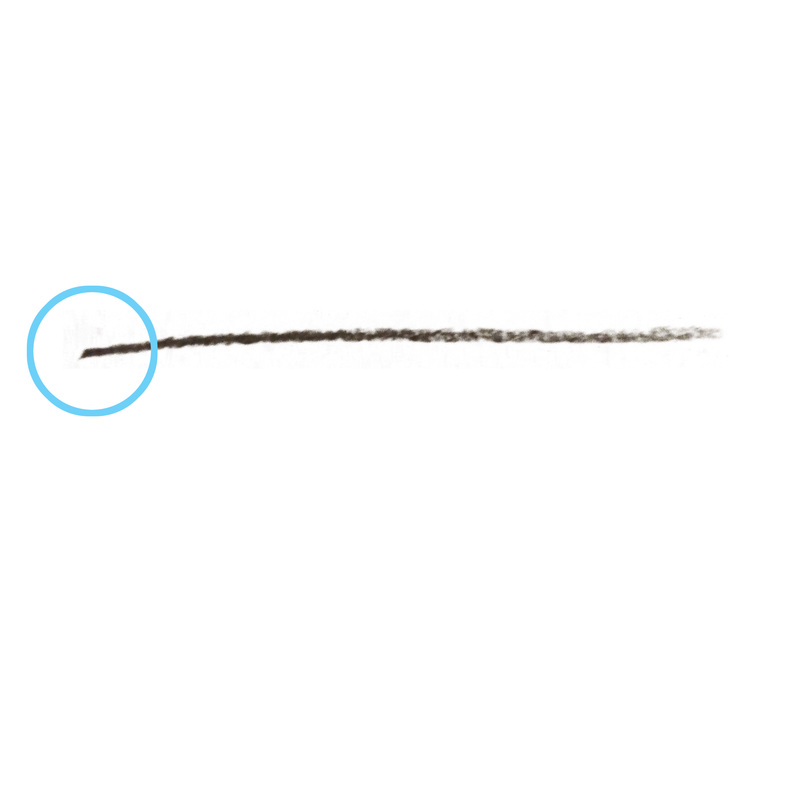
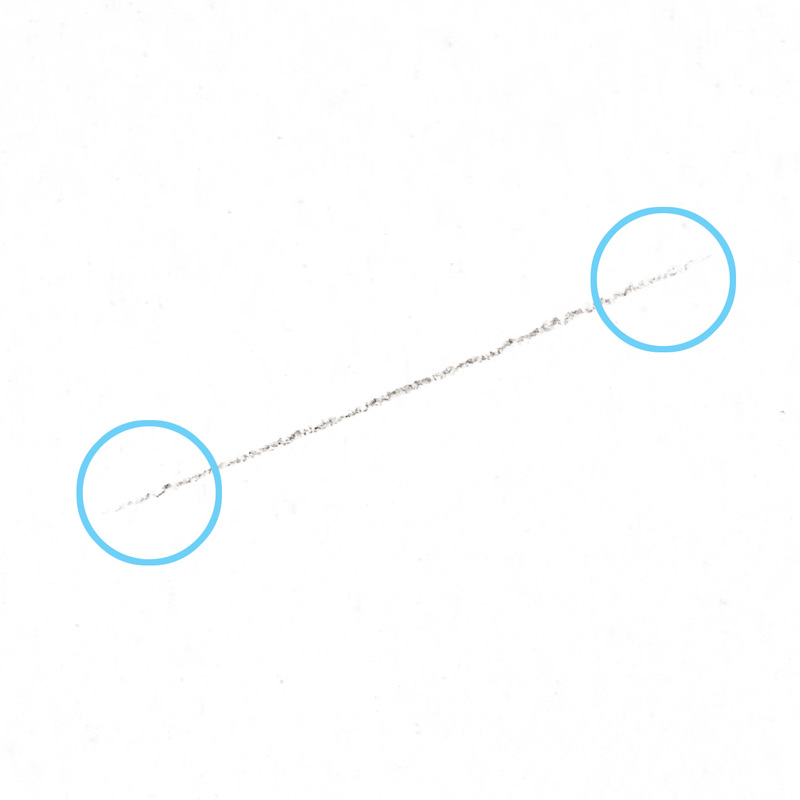
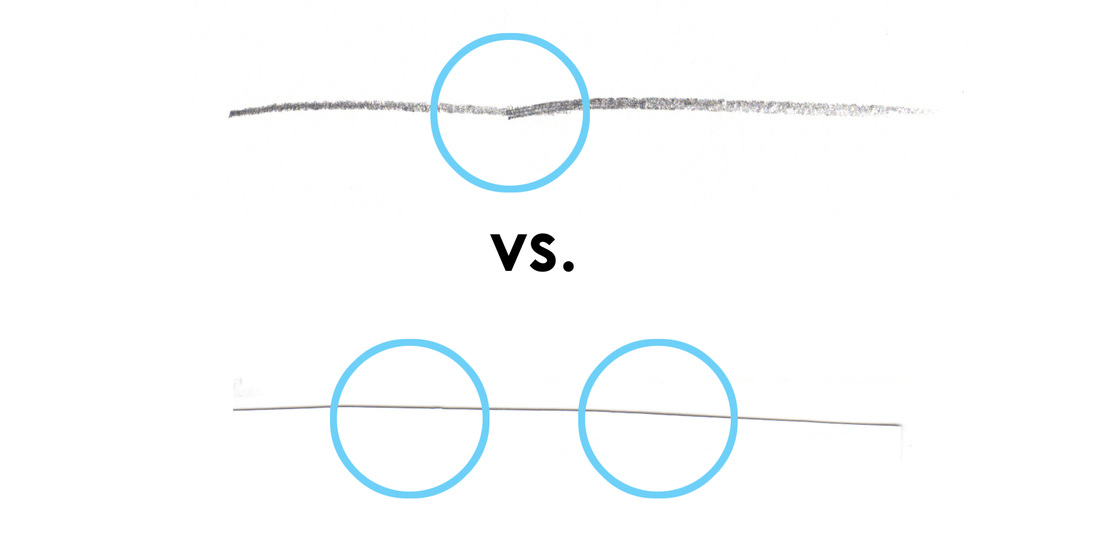
The airplane technique is one of the most fun tips to practice. Focus on the tip of your pencil as it glides on down to your paper, remember to feel yourself “pull” the pencil. Think of how anas an airplane, glides gently to the runway. Then pull your pencil for a smooth gentle takeoff. What is accomplished while using this technique is the creation of a soft starting and ending point. This way lines can blend into one another making it easier to attach new lines to the endpoints. When you create lines with sharp starting and ending points is that attempts to add onto the line create a darker section or point which can be viewed as a mistake. Creating soft points allows you to blend lines together. |
You can see the difference between working with hard points and working with soft points where you can barely see the connection.
Hand Positioning
Most people start sketching or drawing without thinking about how the pencil is placed in their hands. You probably didn't consider the positioning of your pencil within your hand while drawing the techniques in the previous pages. The way you hold a pen or pencil can either hinder or improve the flexibility of your drawing skills. Try the techniques below to free your hand.
Arcs
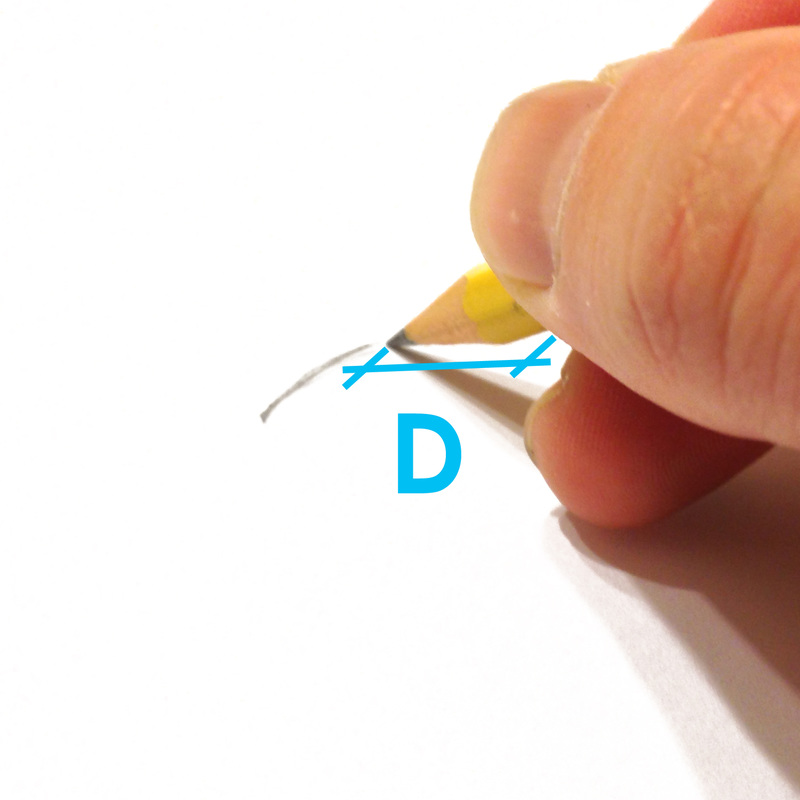
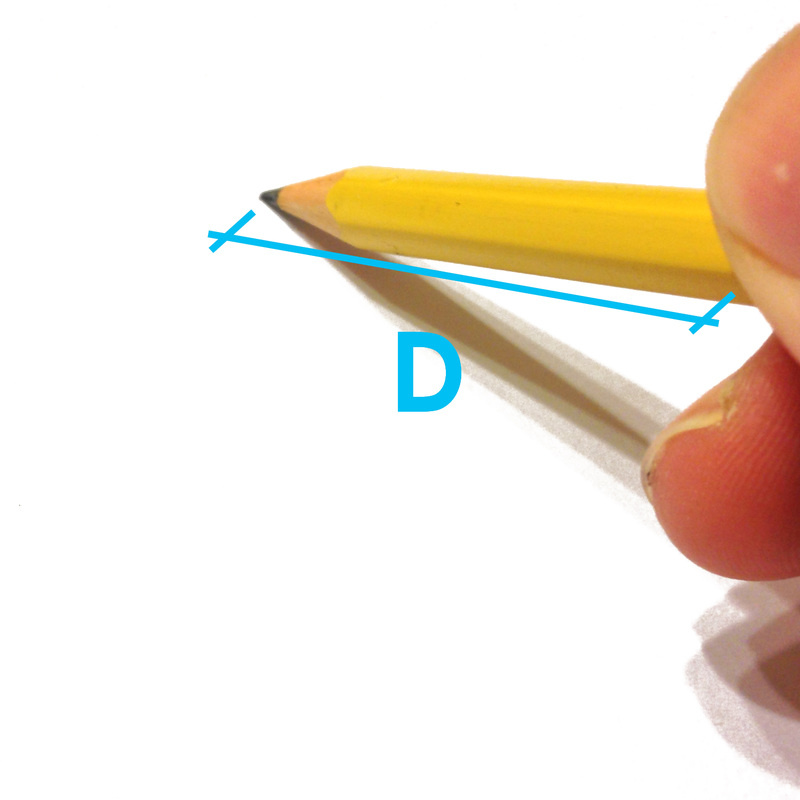
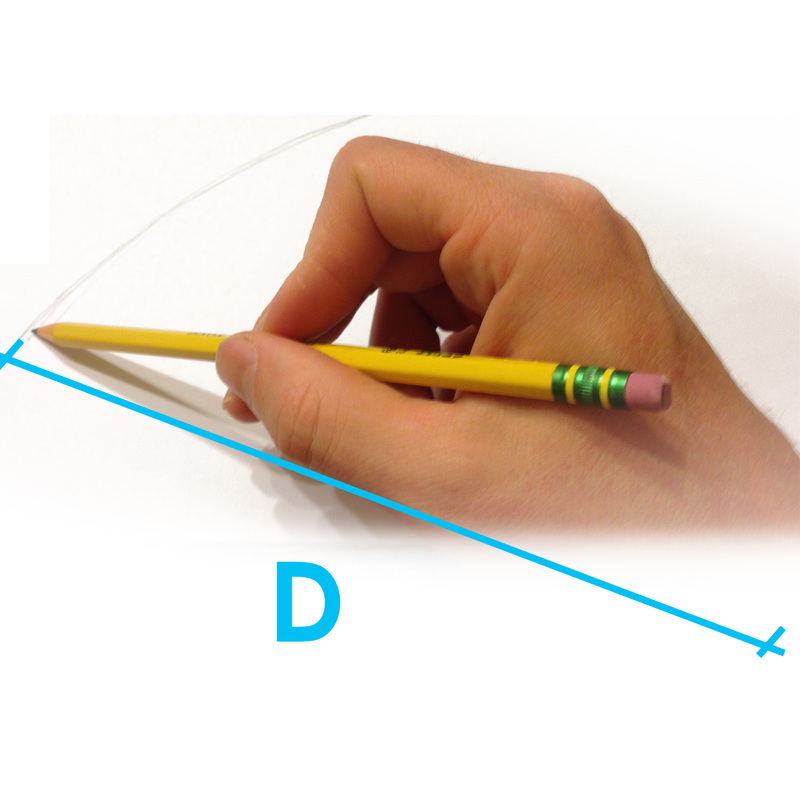
Drawing arcs becomes easier once you understand the mechanics. The size of the arch you can draw comfortably and accurately is directly related to the pivot point you have. To draw a small arc, grasp your drawing utensil close to the tip. Use only your fingers as a pivot point to draw (Image 1). D represents distance. For a medium arch, choke up on the pencil so that you have a bigger arc to pivot with (Image 2). All this is done with the with the wrist planted on the paper or desk (Image 3). In order to make even larger curves move your pivot point back from your wrist to your elbow. I once joked while demonstrating on a backboard in a lecture that you could continue this train of thought and use your hips as your pivot point keeping everything else stiff. As I gyrated back and forth for amusement of the class to my astonishment I discovered the ease in which an arch appeared. The key thing to remember with arcs is to mind your anchor / pivot points.
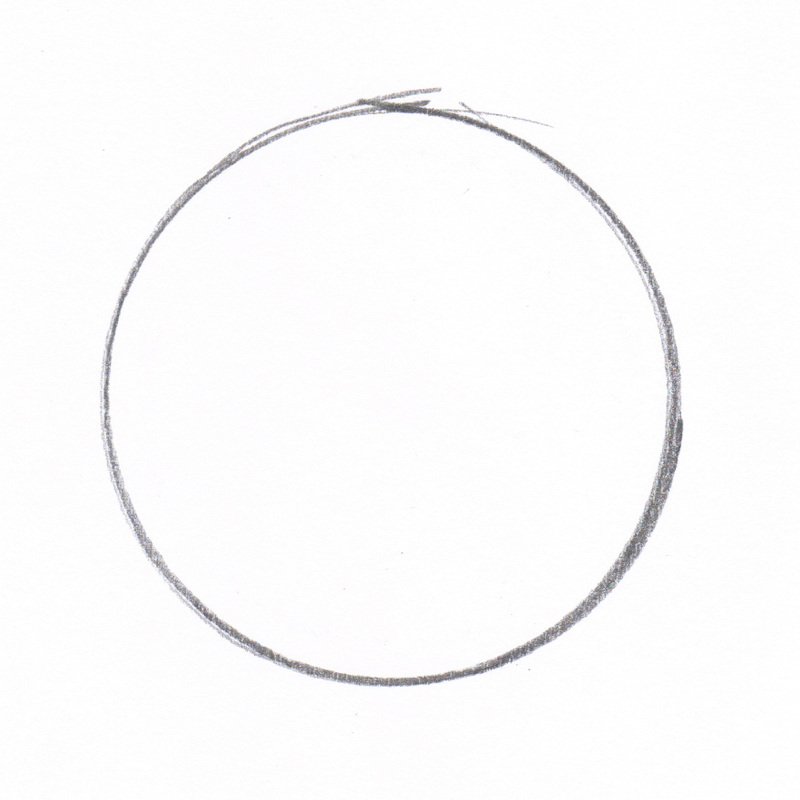
Circles
The secret to circles is movement. Hold your hand with your drawing utensil two inches above the paper, and move it in a circular motion without touching the paper. Get the feel for the size and the shape of your circle before bringing your hand down on to the paper. Now lower your drawing utensil to the paper and draw the circle multiple times. With each pass your hand will start to autocorrect, essentially circling in on the circle. The concept here is the same as the overdraw. You are not trying to create a perfect circle in one pass, but allowing yourself multiple loops to convey to yourself the concept of a circle. The second way is to find an object such as a quarter, a cup, etc. to trace around.
The secret to circles is movement. Hold your hand with your drawing utensil two inches above the paper, and move it in a circular motion without touching the paper. Get the feel for the size and the shape of your circle before bringing your hand down on to the paper. Now lower your drawing utensil to the paper and draw the circle multiple times. With each pass your hand will start to autocorrect, essentially circling in on the circle. The concept here is the same as the overdraw. You are not trying to create a perfect circle in one pass, but allowing yourself multiple loops to convey to yourself the concept of a circle. The second way is to find an object such as a quarter, a cup, etc. to trace around.
TIP: Don’t be afraid to rotate the page. Drawing feels most comfortable when your wrist is resting on a solid surface. If your hand placement can’t complete an arch or whatever else you are going for then simply turn the notebook so you can easily continue the sketch.
SHADING | DEPTH
Shading gives perspective and depth to a sketch. The first rule of thumb is that objects closer in the sketch are darker and heavier, while the background is more grey and lighter. This can be achieved through line weight, pen/pencil pressure, re-drawing over and over a line, and shading. Some strategies you can use are listed below.
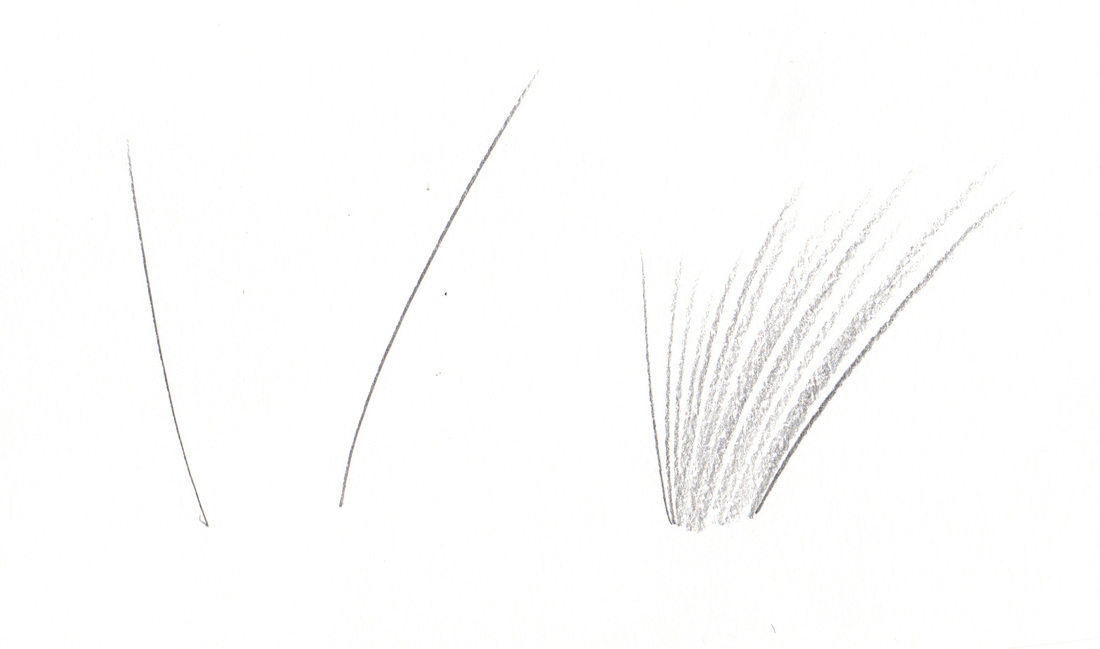
Grass
Take your pencil and push down hard on the paper, then flick your wrist up releasing the pressure. This can be used to create grass, shading, or an exercise allowing you to practice your eye-hand coordination. To do this draw two independent grasses at different angles. Now connect these pieces with intermittent grasses so that they blend together.
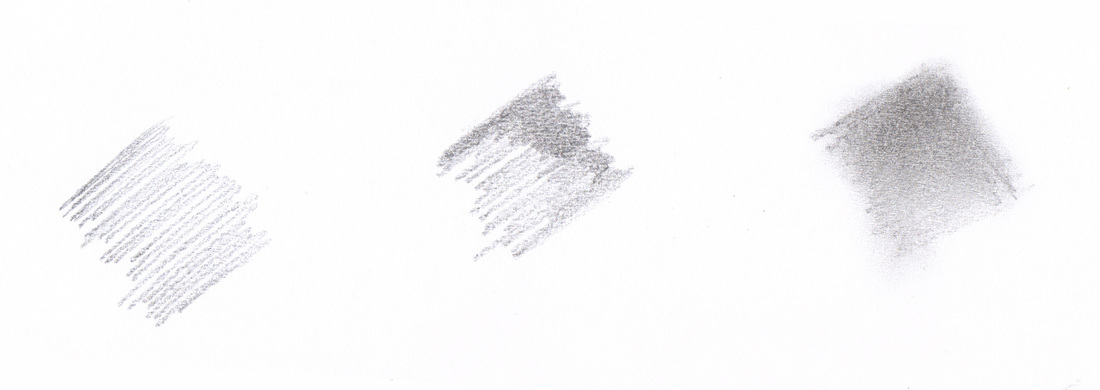
Cross hatch
You probably remember this from drawing class. By increasing or decreasing the spacing between the cross hatch you create, a darker or lighter shadow / shading area.
You probably remember this from drawing class. By increasing or decreasing the spacing between the cross hatch you create, a darker or lighter shadow / shading area.
Smudge
One technique that is most effective to me is to smudge. First lay down some graphite to work with by tilting the pencil on its side and moving back and forth. Then you can take your finger and push or pull the extra graphite around.
One technique that is most effective to me is to smudge. First lay down some graphite to work with by tilting the pencil on its side and moving back and forth. Then you can take your finger and push or pull the extra graphite around.
Perspective
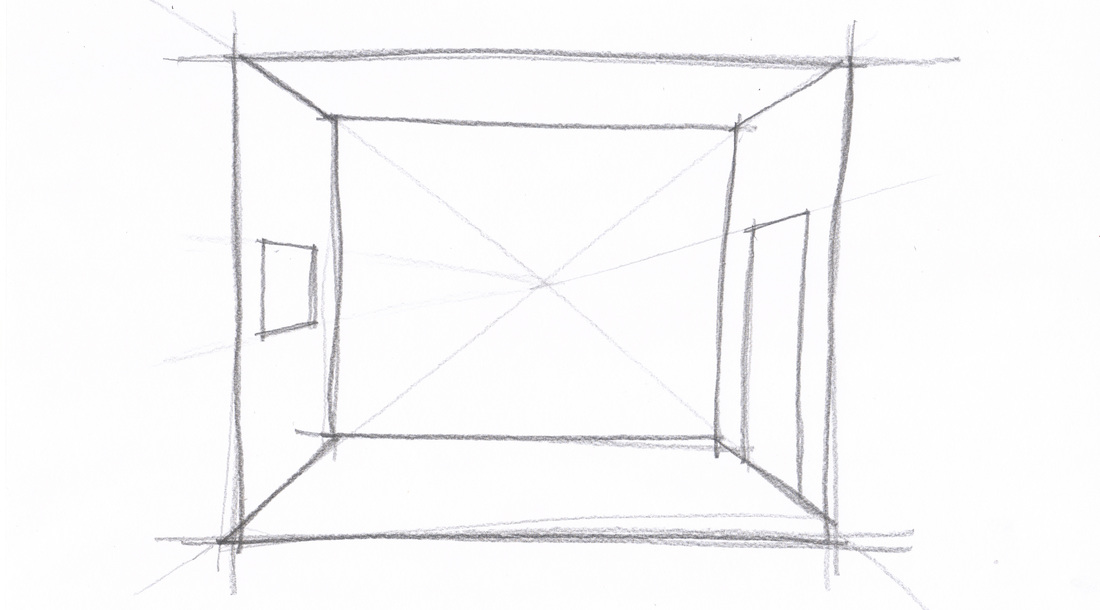
The most important thing to know when creating 3D spaces or drawings are that the lines in a space follow a pattern. Commonly people are taught about the one point and two point perspective. These are great guides to get you started.
The most important thing to know when creating 3D spaces or drawings are that the lines in a space follow a pattern. Commonly people are taught about the one point and two point perspective. These are great guides to get you started.
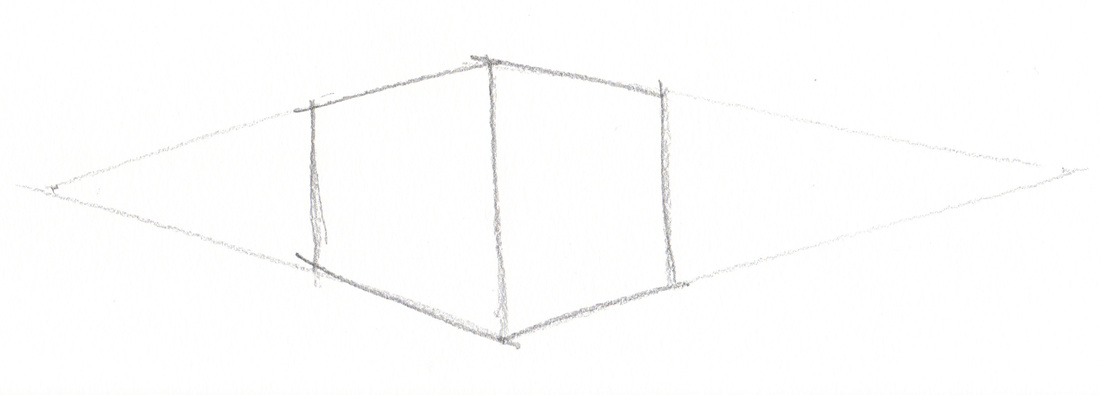
To practice it is helpful to sketch the space that you are in. Similar to most perspectives, Often the space you are occupying does not neatly sit in the center of a page. Be aware that your one or two points that are the center of focus for your drawing of the room might be in a unique location like the image below. Try creating a rectangle of the back wall first then build your lines from there.
Relationships / Relativity
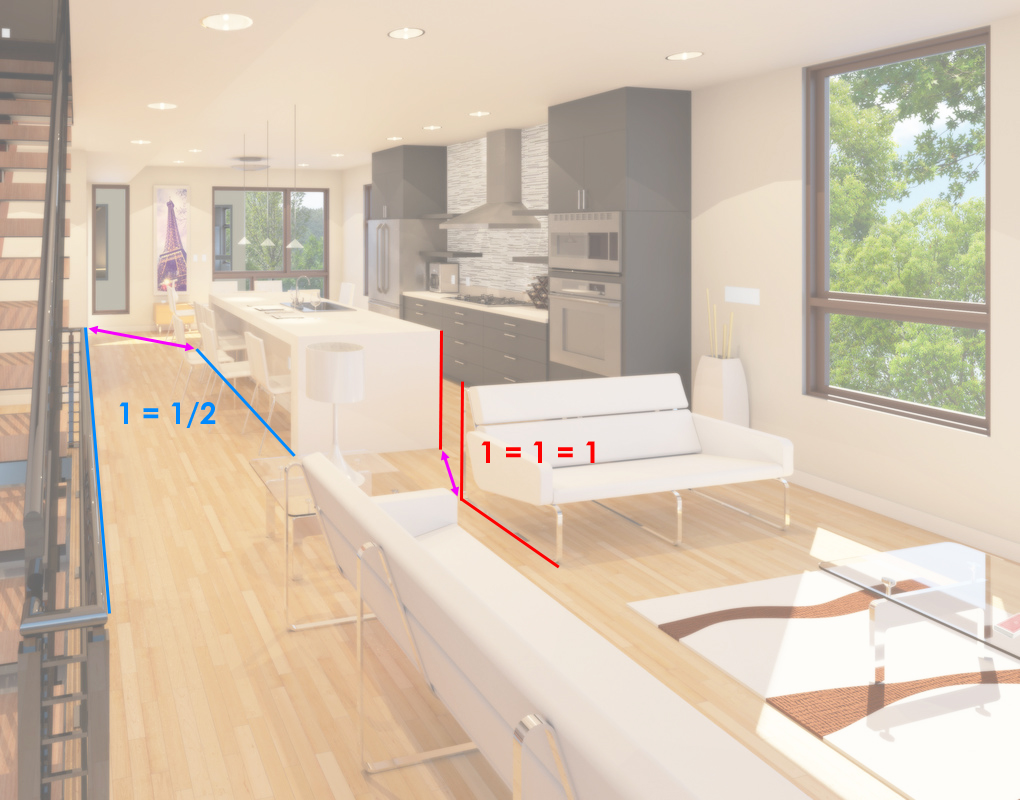
Another key concept is that once your framework is complete, it is time to find relationships. For example is the kitchen island half the size of the railing? Is the Island height the same as the couch height and width? How far away does one item start from another. These relationships can be explored once you have your framework in order.
Another key concept is that once your framework is complete, it is time to find relationships. For example is the kitchen island half the size of the railing? Is the Island height the same as the couch height and width? How far away does one item start from another. These relationships can be explored once you have your framework in order.
DESIGN EXERCISE
|
Using a number two pencil sketch a room, and detail it using the techniques above. A detail would be anything smaller than 1’ by 1’. It could be a railing, your cat, a table setting, etc.. A room could be anything bigger than a bedroom and also including an exterior seen. If you are reading this book with someone, make a plan to complete the exercise and show your results to each other.
|
RESOURCES:
This chapter is only a primer to get you started. Drawing enhances what we are capable of seeing and stimulates the imagination. Here are some resources that I have found useful to help you develop your own skills.
Books:
The Sketchnote Handbook - Mike Rohde
Drawing Ideas: A Hand-Drawn Approach for Better Design Hardcover by Mark Baskinger (Author), William Bardel
Youtube:
Art of Wei
In the next chapter we will explore how to take your building, ideas, wishes and dreams and organize them using design principles.
|
|

